I'm the first to admit that I'm not the world's greatest at colouring in images, and that there are people out there who can do marvellous and mystical things with Copics (how do they do that?!). But here it
is, my quickie guide to colouring in!
I only have a couple of rules when I'm colouring .... Always start with the lightest colour and add the darker shades, and always work in two or three shades of the same colour family to allow you to blend and build the lighter and darker areas.
I sometimes colour with Distress ink pads, sometimes with Copics (but I'm very new to Copics), but today I coloured with my Polychromos pencils. These are very similar to use as Prismacolor pencils - one is wax based and one is oil based, but they blend the same.
Then I took it one step darker around the edges:
And then one step darker still:
I used the same principle for the cheeks .. starting with the light pink and taking it one step darker around the edges:
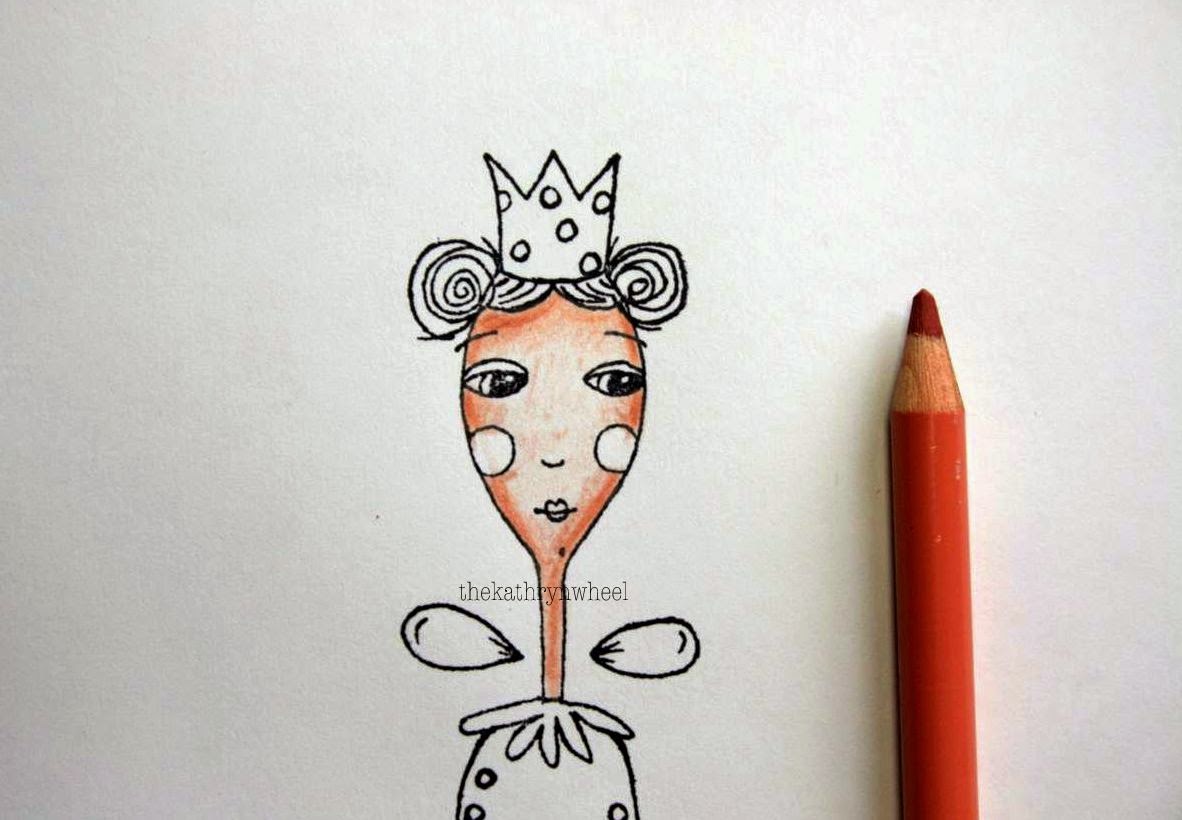
I could have left the face like that but I wanted to add some shape to the nose, so I lightly drew a line from the eyebrow down the side of the nose:
This gave me a guide for adding a little more shading. Here I have shaded just one side:
When adding colour to anything else I followed the same principle of starting with the lightest shade and adding darker around the edges:
I wanted to add more than one colour to the body and this is when pencils are really great! I began with adding some green ... but still darker round the edges:
And then the same again with reds and pinks:
And then I added blues and yellows:
To break up areas of colour I like to add a random bit of scribbling, and touches of white gel pen:
And here she is finished. Ta-da! If you would like to see how she looks when added t a journal page, have a look at
this post here. Byee for now!