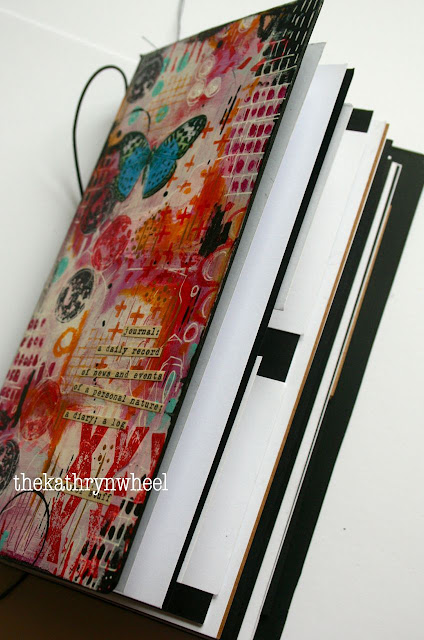
Oh! How much do I LOVE this journal die by Eileen Hull?! I could not wait to get my little mitts on one. It cuts through paper, card, and wait for it ... mount board! Oh yes, you can make yourself a proper little hard back travel journal. So cool. It cuts the covers, scores, and punches holes in the spine all in one go.
Of course for my first attempt I made myself a messy colourful painty version, which is going to be an art journal. I began by covering the whole thing with black gesso, and then added layers and layers of colour.
Here it is as a work in progress:
Cutting pages for the inserts is so easy. I just cut squares of a card to measure 21cm, in various bits of different coloured card, and then folded in half. I stitched the signatures together with my trusty old sewing machine, and then added elastic to the cover so that the signatures are removable. Just like a Midori Traveller's notebook. Genius.
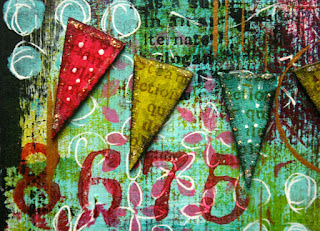
And it just so happens that I made myself another journal using this very die, which just so happens to be on the DecoArt Media blog today, step-by-step with lots of photos. Please do go and take a look over on the Decoart blog :-)
Here's a few sneaky peeks:
This journal die has pretty much sold out in most places in the UK but I can tell you that it will be stocked at Art from the Heart very soon ;-)


Thanks Kate, just bought this die and i am busy making it into a nice traveljournal...and i can use some inspiration, certainly from your work...your my great inspirator, i looooove the way you work, al those colors...its such a lovely work
ReplyDeleteThanks so much Anna!
Deletewow Kate, what amazing first attempts. The bits about assembling sounded confusing to me as I don't know where to start, but I must now unwrap mine as it has been sitting on my craft desk for a few weeks now!
ReplyDeleteThanks for inspiring me! Xx
Hazel, it's not tricky to assemble at all! The spine just glues together and the holes line up. Once the glue dries just thread elastic though - I followed the instructions inside the box, but there are lots of different ways to do it. And then the elastic holds the signatures in place so that they are removable.
DeleteSo, so glad you discovered Eileen's amazing journal die Kate, it is my all time favourite die! I love your beautiful journal cover and your sneak peeks look amazing, off to take a closer look... Anne x
ReplyDeletedivine!
ReplyDeleteThat is lovely I haven't managed to get one yet - I am in Italy so it is difficult here I usually get from the UK will hopefully get one soon.
ReplyDeleteKate I love your Journals- such happy beautiful colors! I am so glad you like working with it and grateful you are spreading the Journal love ❤️
ReplyDeleteStunning journals!! I keep telling myself I don't need the die, but....... :-)
ReplyDeleteThese Journals are amazing I love your art work on them ! The die is awesome may have to add it to my lkist !
ReplyDeleteThis is so beautiful! I just love the cool design. Hugs, Autumn
ReplyDeleteFabulous die and even more fabulous artwork ! Great stuff Kate !
ReplyDeleteoh, this is so bright and textured looking, I love it! Have you joined the Eileen Hull Fan Club on FB? we're a bunch of journal junkies there. =) lol
ReplyDeleteThanks Lisa, I'll look into it!
Delete